It's a pretty simple, and easy installation. All you'll need is a 4mm hex wrench and 10 minutes. Loctite is a good idea too
The proses is 100% reversible And if you have any questions just reach out and we would be happy to help
Note. This does not change the amount of suspension travel your wheel has,it simply moves it up for better pedal to ground clearance .
Installation instructions:
It's pretty simple,
Power off the wheel and lay it on its side.
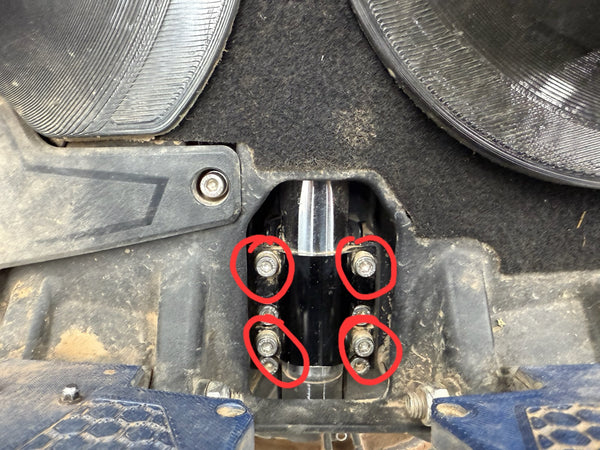
Then you just loosen the 4 shock clamp bolts as shown in the photo circled in red (not the axle bolts)
Don't take the bolts entirely out at this time.
The suspension may have to be compressed slightly at this point to reach all 4 bolts
The suspension may have to be compressed slightly at this point to reach all 4 bolts
Once the bolts are loosened, pull the wheel away or out from the body of the EUC; it will extend (move up from the bottom bracket) about an inch or so.
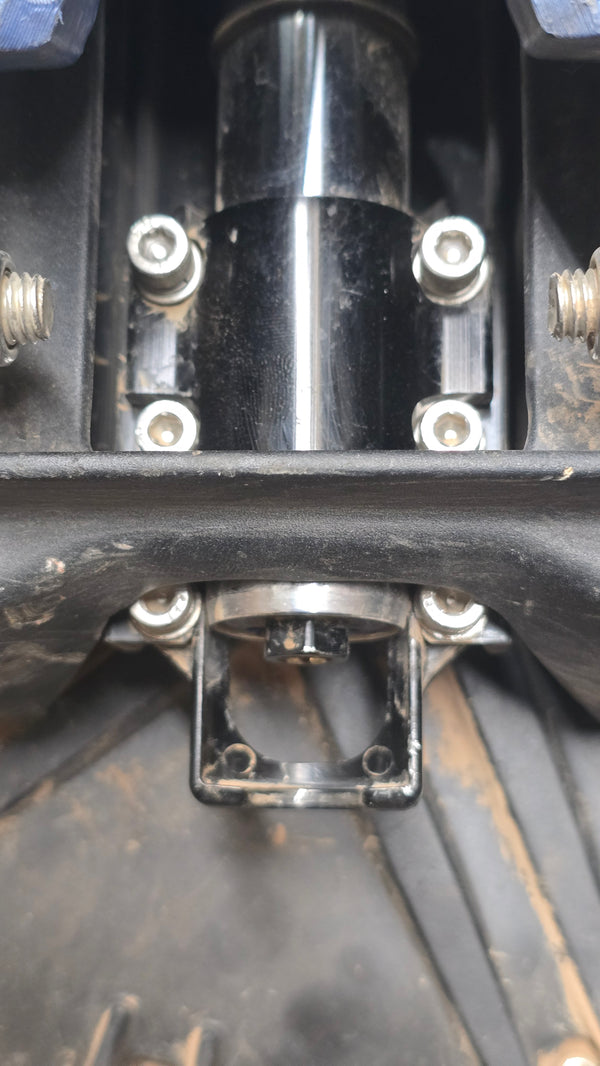
Put the block in the gap (it should be very snug).Then put pressure on the wheel, preferably just stand the wheel upright and let it sit on the block.
You then snug 2 bolts.
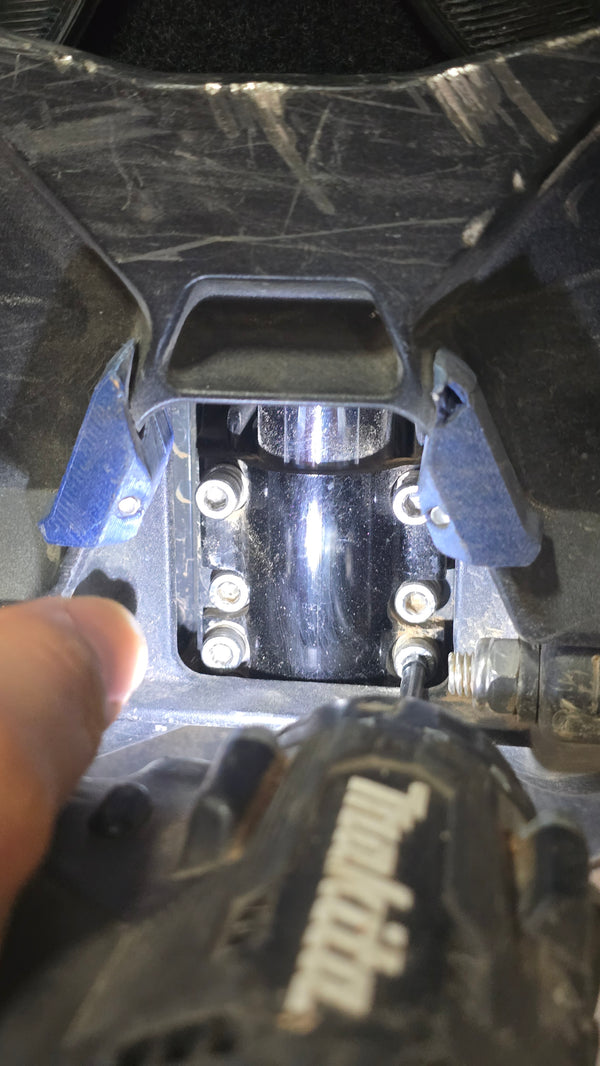
We recommend taking 2 bolts entirely out at a time (to avoid mixing anything up) and applying blue Loctite.
After all 4 bolts have been put back in then it's just down to tightening it back up.

The suspension may have to be compressed slightly at this point to reach the rest of the bolts.
That should do it . Get back to riding!