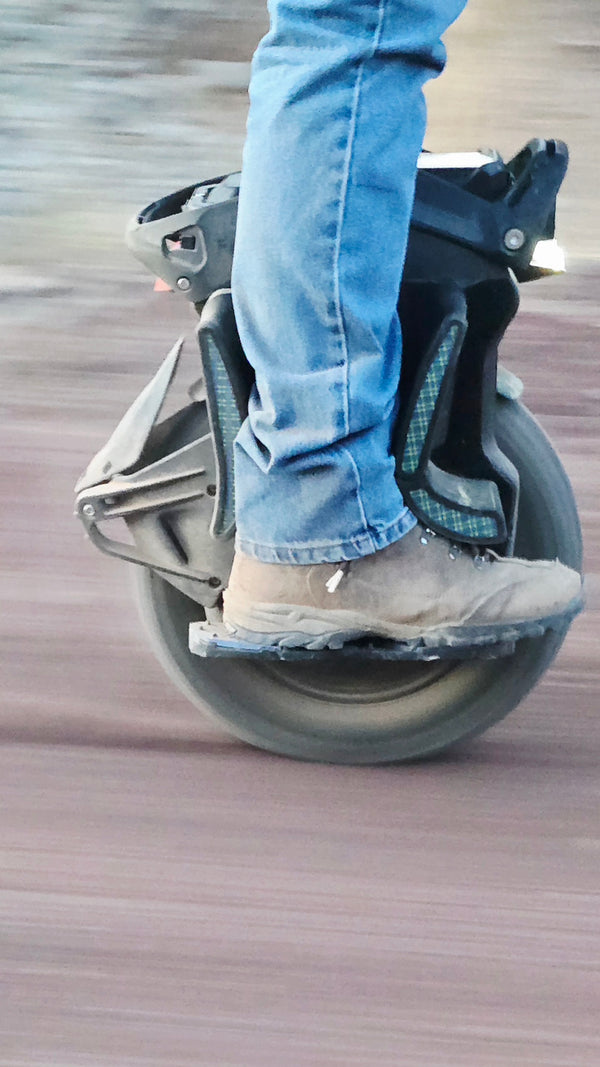
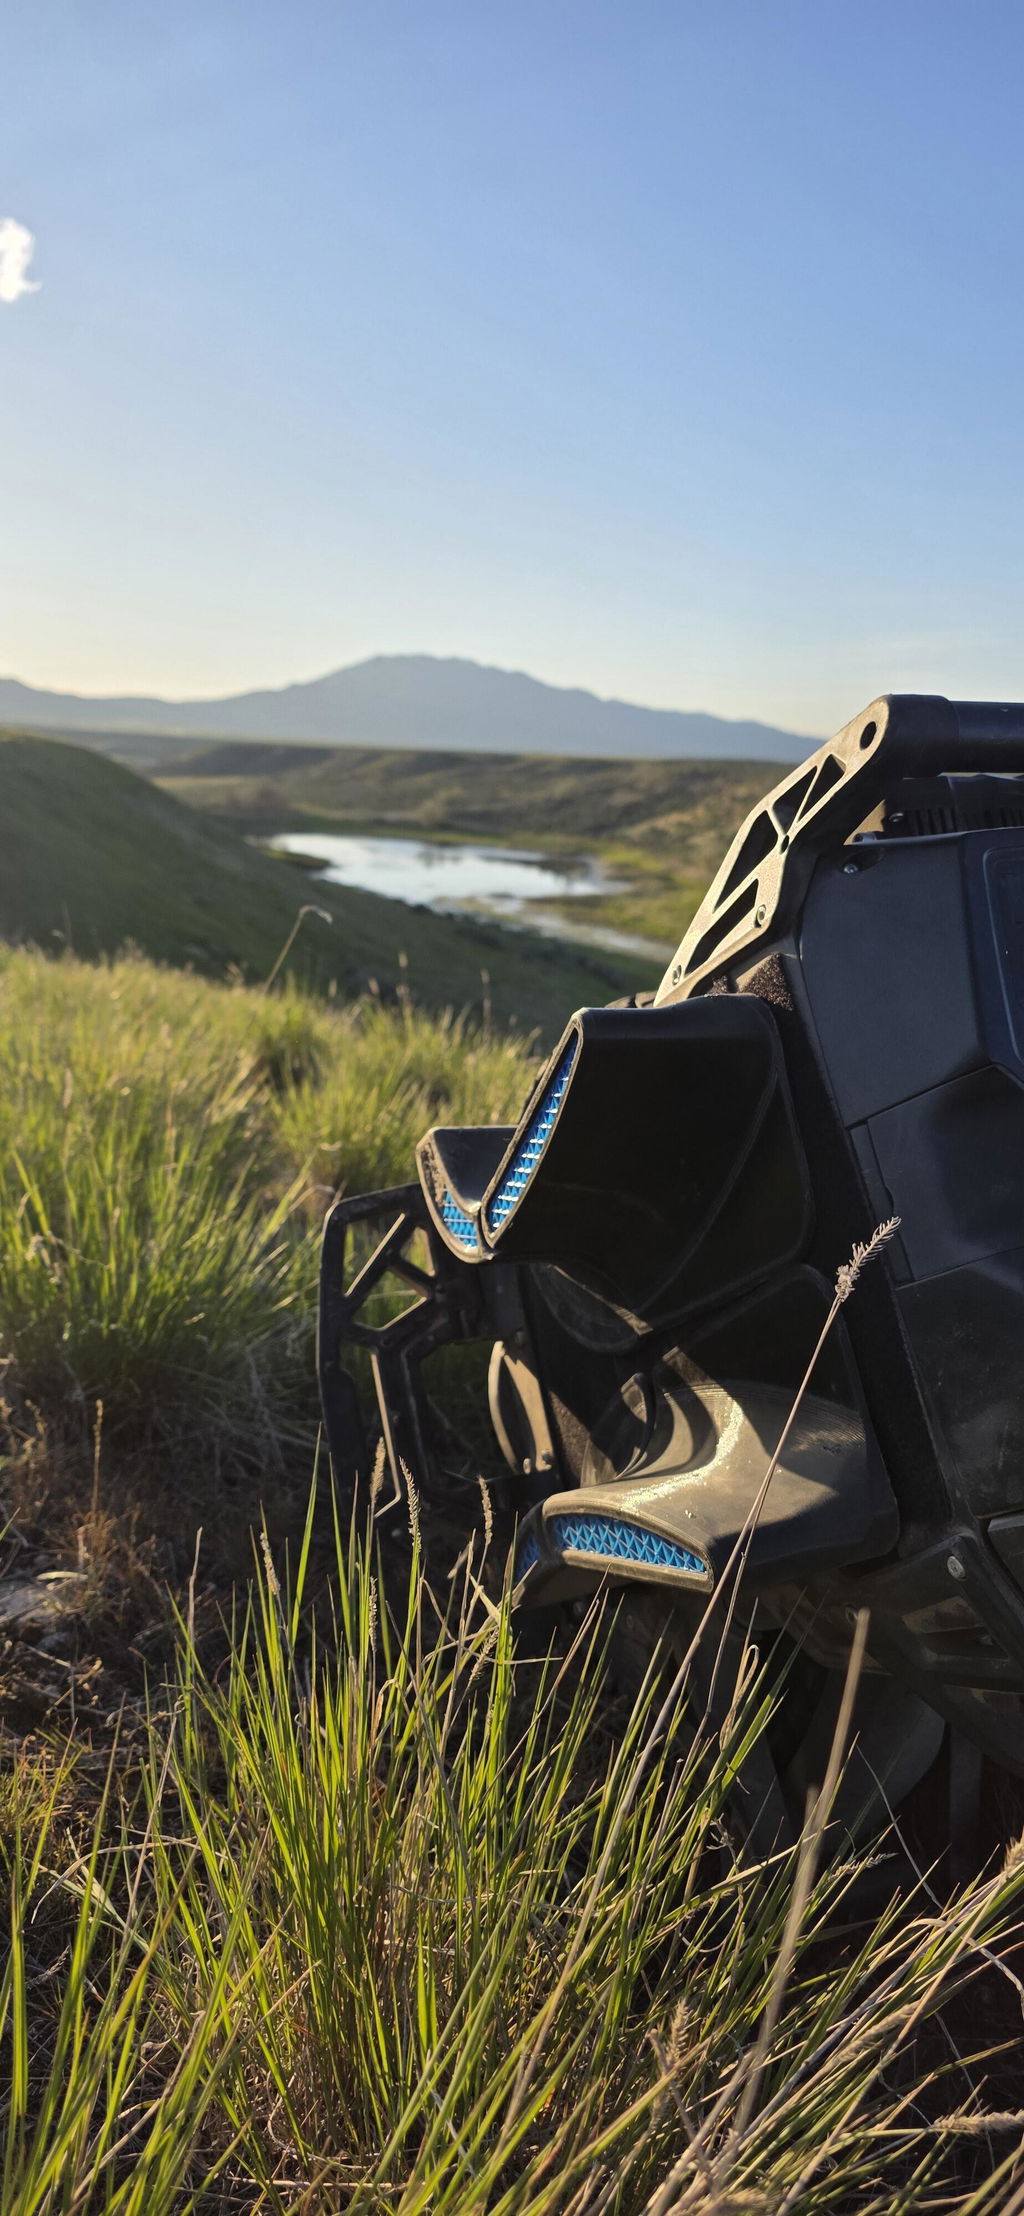
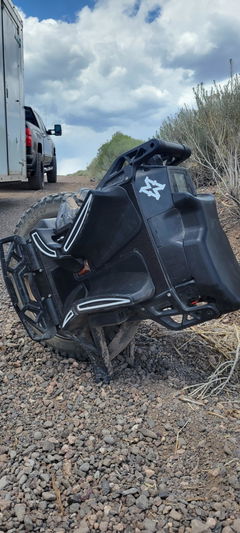
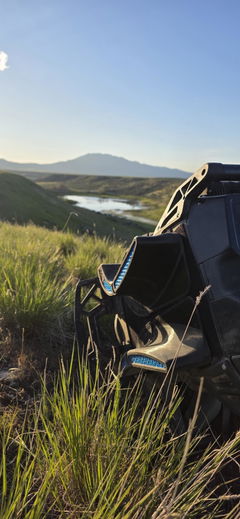
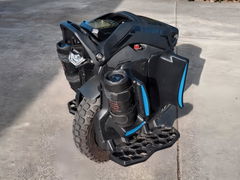
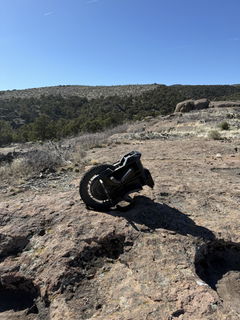
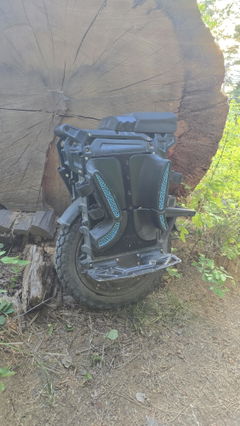
Custom color pads (built to order)

Custom color pads (built to order)

Please read the order instructions carefully all orders are final.
Regular price$250.00
/

Size


Note. This product is for custom color for the full pad not including the the inserts 

 This is a built to order product and is non refundabl .Expect a 15 to 30 day lead time 

please contact via email for colors and options 


Key Features:


Many colors to choose from.

3.2 inches (80mm) wide. Width out from the wheel 

Pre-installed Velcro for easy setup

Designed for large wheels with large contact area

Large surfaces accommodate reflector stickers and Velcro attachments

Customizable inserts that can be changed and upgraded anytime

Perfect for riders who want to personalize their setup

Why Choose Full Tilt Pads?


Full Tilt EUC power pads are engineered for riders who demand performance, customization and the most comfortable pads on the market. Our pads have a large surface area that can be trimmed for an even more personalized setup, in addition the large surfaces on front and back to attach Velcro allows you to upgrade and modify your pads as your riding style evolves, making this a long-term investment in your EUC experience. 


Note. ( for leperkim brand wheels only) only fit on leperkim brand wheels with the adjustable jump pads. For all other brands please order (standard)


What's Included:


 1 set of premium EUC pads


1 set of color inserts


Pre-installed high-quality Velcro

Use collapsible tabs for more detailed information that will help customers make a purchasing decision.

Ex: Shipping and return policies, size guides, and other common questions.
This site is protected by hCaptcha and the hCaptcha Privacy Policy and Terms of Service apply.

Installation Guide

It's a pretty simple, and easy installation. All you'll need is a 4mm hex wrench and 10 minutes. Loctite is a good idea too

The proses is 100% reversible And if you have any questions just reach out and we would be happy to help

Note. This does not change the amount of suspension travel your wheel has,it simply moves it up for better pedal to ground clearance .

1

Getting started

Installation instructions:

It's pretty simple,

Power off the wheel and lay it on its side.

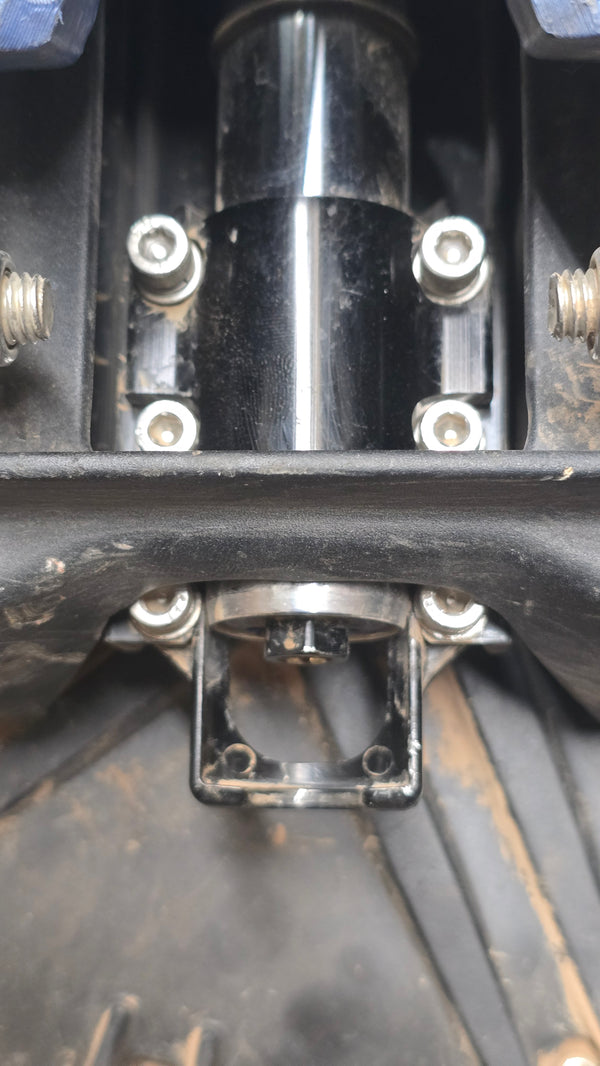
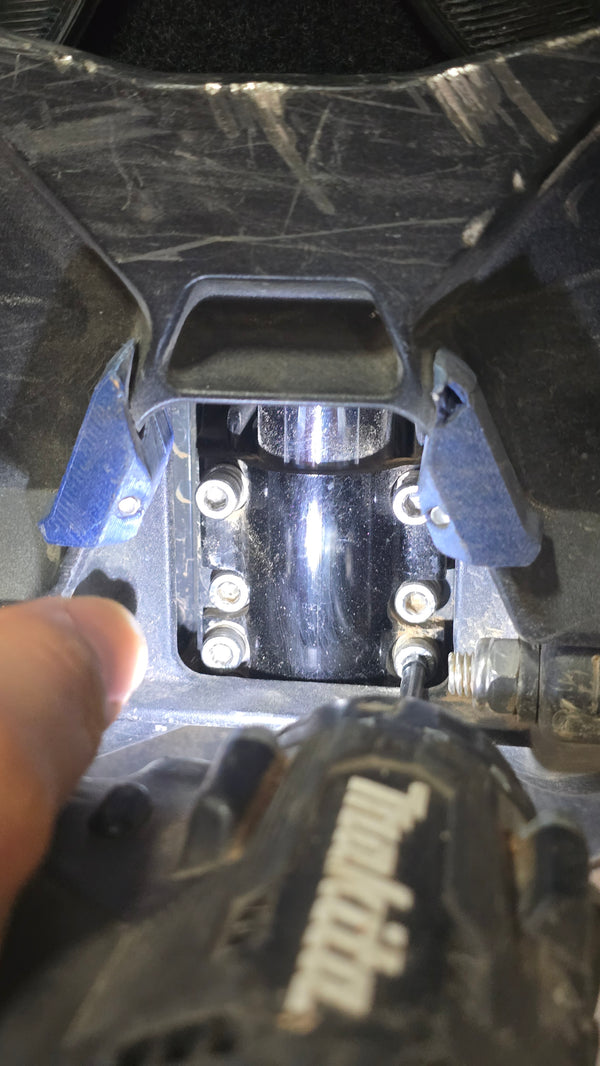
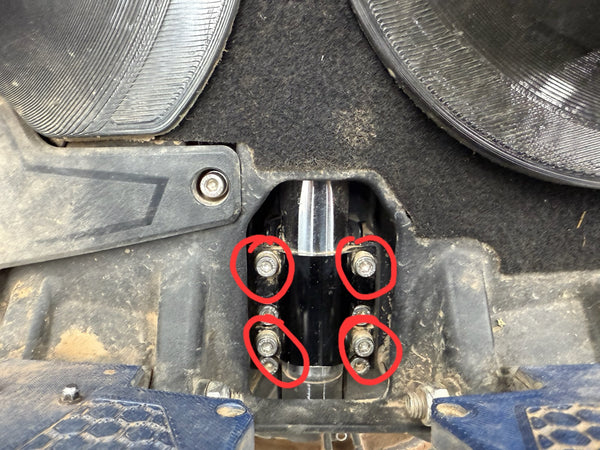
Then you just loosen the 4 shock clamp bolts as shown in the photo circled in red (not the axle bolts)

Don't take the bolts entirely out at this time.

The suspension may have to be compressed slightly at this point to reach all 4 bolts

Getting started
2

The suspension may have to be compressed slightly at this point to reach all 4 bolts

Once the bolts are loosened, pull the wheel away or out from the body of the EUC; it will extend (move up from the bottom bracket) about an inch or so.

3

Begin to reassemble

Put the block in the gap (it should be very snug).Then put pressure on the wheel, preferably just stand the wheel upright and let it sit on the block.

You then snug 2 bolts.

We recommend taking 2 bolts entirely out at a time (to avoid mixing anything up) and applying blue Loctite.

After all 4 bolts have been put back in then it's just down to tightening it back up.

Begin to reassemble
4

The suspension may have to be compressed slightly at this point to reach the rest of the bolts.

5

That should do it . Get back to riding!


Recently viewed