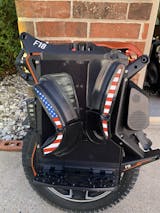
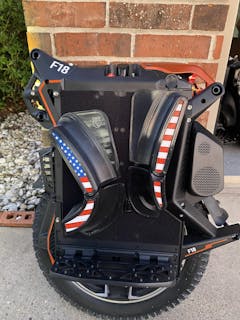
Adjustable Jump Pads for Full Tilt Power Pads - Electric Unicycle Upgrade for Leaperkim wheels

Adjustable Jump Pads for Full Tilt Power Pads - Electric Unicycle Upgrade for Leaperkim wheels

Please read the order instructions carefully all orders are final.
Regular price$35.00
/

Color
Size

 Upgrade Your Ride with these adjustable Toe Pieces

Transform your electric unicycle experience with our precision-engineered adjustable toe pieces, specifically designed for Full Tilt Power Pads and compatible with Leaper Kim electric unicycles.

✨ Key Features:

  • Perfect Fit: Custom-designed for Full Tilt Power Pads
  • Adjustable Design: Fine-tune your foot positioning for maximum comfort
  • Premium Materials: Durable construction built to last
  • Easy Installation: Quick setup with all pad sizes
  • Enhanced Control: Improved stability and riding confidence

 Why Choose Our Toe Pieces?

Whether you're a beginner learning to balance or an experienced rider pushing limits, these toe pieces provide the precise foot positioning you need for optimal control. The adjustable design means you can customize the fit to your exact preferences.

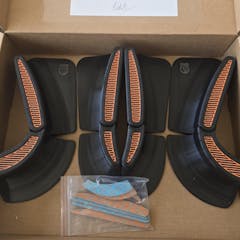
📦 What's Included:

• 2x Adjustable toe pieces 
• Quick setup guide

Note: Can be purchased separately or as an option with all pad sizes for maximum convenience.

Use collapsible tabs for more detailed information that will help customers make a purchasing decision.

Ex: Shipping and return policies, size guides, and other common questions.

This site is protected by hCaptcha and the hCaptcha Privacy Policy and Terms of Service apply.

Installation Guide

It's a pretty simple, and easy installation. All you'll need is a 4mm hex wrench and 10 minutes. Loctite is a good idea too

The proses is 100% reversible And if you have any questions just reach out and we would be happy to help

Note. This does not change the amount of suspension travel your wheel has,it simply moves it up for better pedal to ground clearance .

1

Getting started

Installation instructions:

It's pretty simple,

Power off the wheel and lay it on its side.

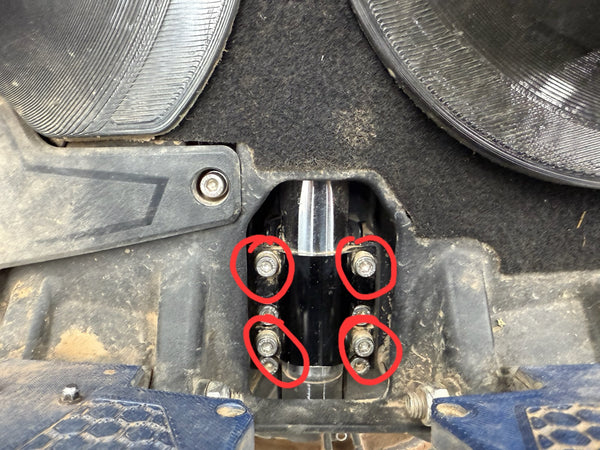
Then you just loosen the 4 shock clamp bolts as shown in the photo circled in red (not the axle bolts)

Don't take the bolts entirely out at this time.

The suspension may have to be compressed slightly at this point to reach all 4 bolts
Getting started
2

The suspension may have to be compressed slightly at this point to reach all 4 bolts

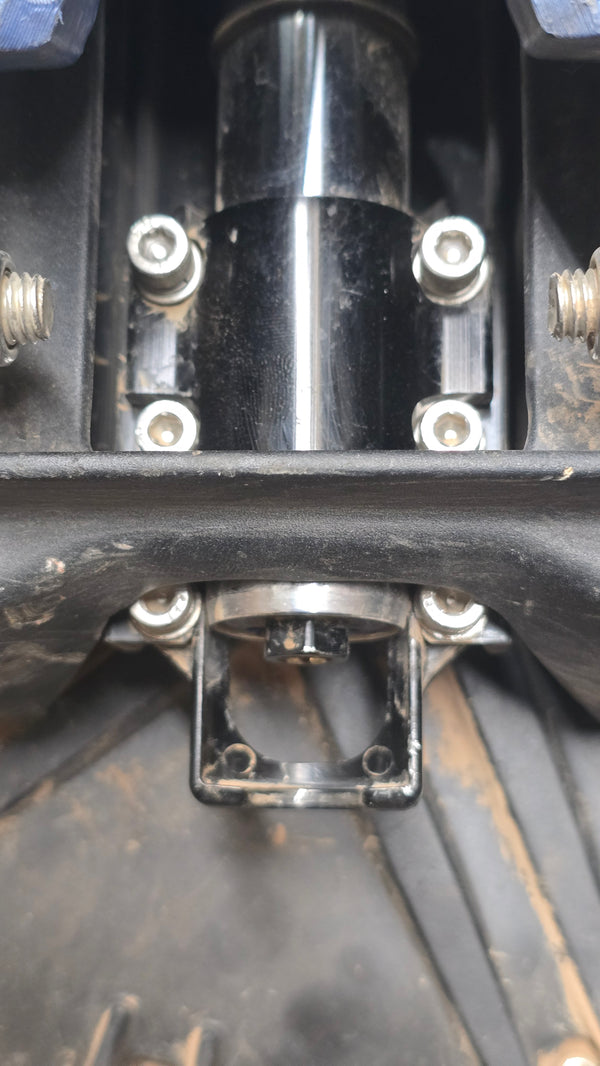
Once the bolts are loosened, pull the wheel away or out from the body of the EUC; it will extend (move up from the bottom bracket) about an inch or so.
3

Begin to reassemble

Put the block in the gap (it should be very snug).Then put pressure on the wheel, preferably just stand the wheel upright and let it sit on the block.

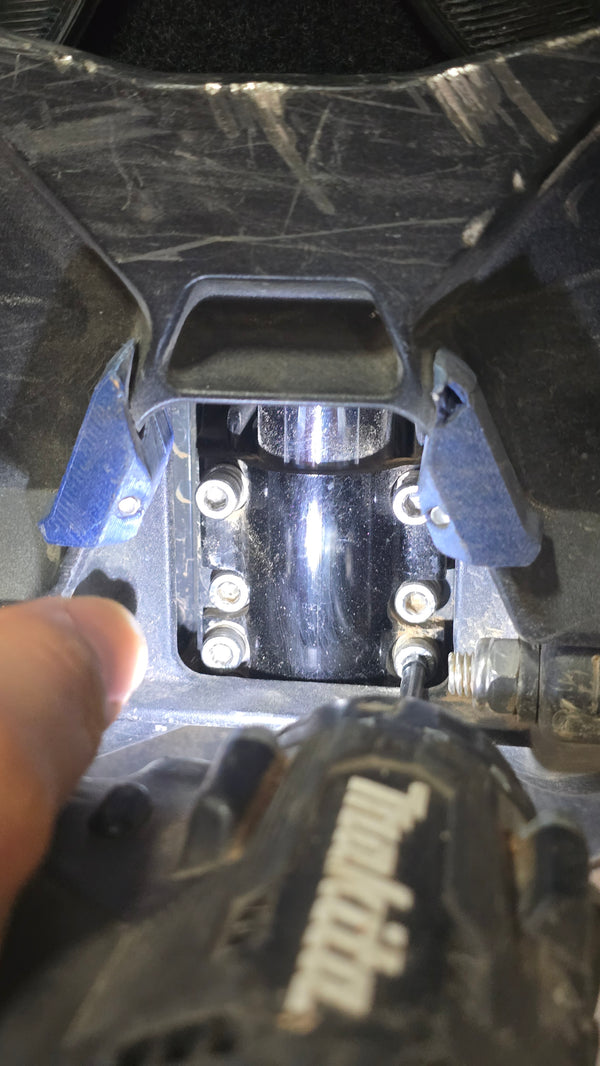
You then snug 2 bolts.

We recommend taking 2 bolts entirely out at a time (to avoid mixing anything up) and applying blue Loctite.

After all 4 bolts have been put back in then it's just down to tightening it back up.

Begin to reassemble
4

The suspension may have to be compressed slightly at this point to reach the rest of the bolts.
5

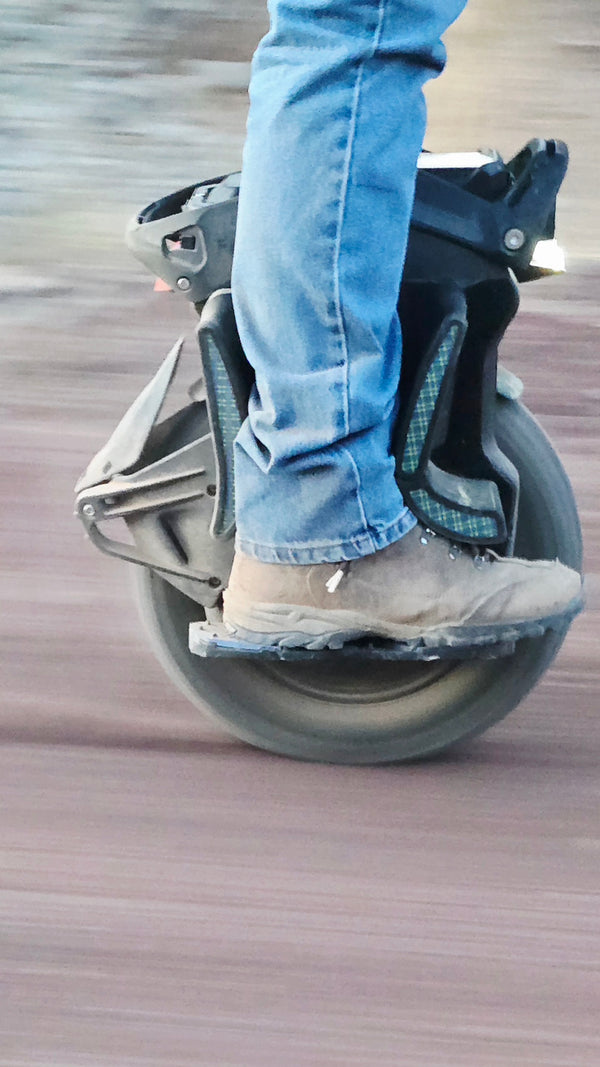
That should do it . Get back to riding!

Recently viewed